

Dragging (but not dropping) in Flutter
Flutter's way of drawing things on the screen is awesome. But it comes a time (i.e. a project) where you need not to position things on the screen yourself but allow the user to add and move things around.
The framework is mature enough to offer a way to drag-and-drop things around using the Draggable and DragTarget classes. But what if you don't want to "drop" things? Just to allow users to "drag" elements on the screen?
A combination of Draggable and Stack will do the trick. Let me show you an (almost) complete example and will explain it line by line.
// 1.
var _x = 0.0;
var _y = 0.0;
final GlobalKey stackKey = GlobalKey();
[...]
Widget dragArea() => Stack( // 2.
key: stackKey, // 3.
fit: StackFit.expand,
children: [
Container(color: Colors.blue), // 4.
Positioned( // 5.
left: _x,
top: _y,
child: Draggable( // 6.
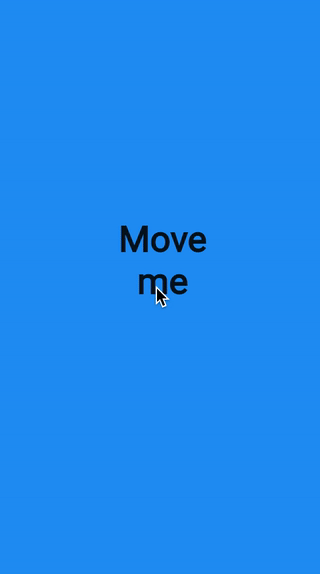
child: Text('Move me'), // 7.
feedback: text('Move me'), // 8.
childWhenDragging: Container(), // 9.
onDragEnd: (dragDetails) { // 10.
setState(() {
final parentPos = stackKey.globalPaintBounds;
if (parentPos == null) return;
_x = dragDetails.offset.dx - parentPos.left; // 11.
_y = dragDetails.offset.dy - parentPos.top;
});
},
),
),
],
);
[...]
// A useful extention for getting absolute coordinates of a widget
// (found somewhere in SO)
extension GlobalKeyExtension on GlobalKey {
Rect? get globalPaintBounds {
final renderObject = currentContext?.findRenderObject();
var translation = renderObject?.getTransformTo(null).getTranslation();
if (translation != null && renderObject?.paintBounds != null) {
return renderObject!.paintBounds
.shift(Offset(translation.x, translation.y));
} else {
return null;
}
}
}
- These
_xand_ycoordinates are for the location of the movable item when it's still. - The
Stackis the top-level widget used as the area in which the movable item can be moved. This widget allows otherchildrenwidgets be drawn on top of each other if desired. - We set a global key to this
Stackbecause we want to refer to it later (in [11]). - The
childrenof aStackare drawn in the order they are defined. This is the firstchildrenand acts as the background of the movable area (just a plain blue container). - We wrap the movable item in a
Positionedwidget. This is to allow absolute positioning when the item is still. - The
Draggablewidget is what does the job of moving around the item. Note that the widget allows dragging/moving the item in the entire screen, not just theStackwidget we have. Additional logic is needed if you want to restrict moving within this area, not covered in this article. - The
childof theDraggableis what renders on screen when the item is not being dragged/moved. In our case it's a simpleTextwidget for demo purposes. - The
feedbackis what renders while the dragging is in progress. In our simple demo case it's the same as thechildbut it can be customized to indicate that the item is being dragged (e.g. some gray overlay). - The
childWhenDragging(as the very descriptive name implies) is what is renderes in the place ofchild(i.e. at the starting position). In our demo case we chose to show nothing to make it clearer that the item is moved. - This is what called when the dragging ends (i.e. the movable item is dropped). Normally, the
Draggablewill return thechildto the original starting place. But we want to move the item to the place that it was dropped. - We need to do some maths to calculate the new relative position of the item. The
dragDetailscontain the universal coordinates that the item was dropped. ButPositionedwants coordinates relative to theStackparent. To do this we subtract the parent container position from the absolute item position.
Hopefully in this super quick turorial-snippet you got an idea on how to drag items around in a movable area using Flutter.
Now go, create :) Happy coding!